Recipe Overview
- Total Time: 170 minutes
- Difficulty: Medium
- Diet: Vegetarian, Egg Free, Nut-Free
170 mins
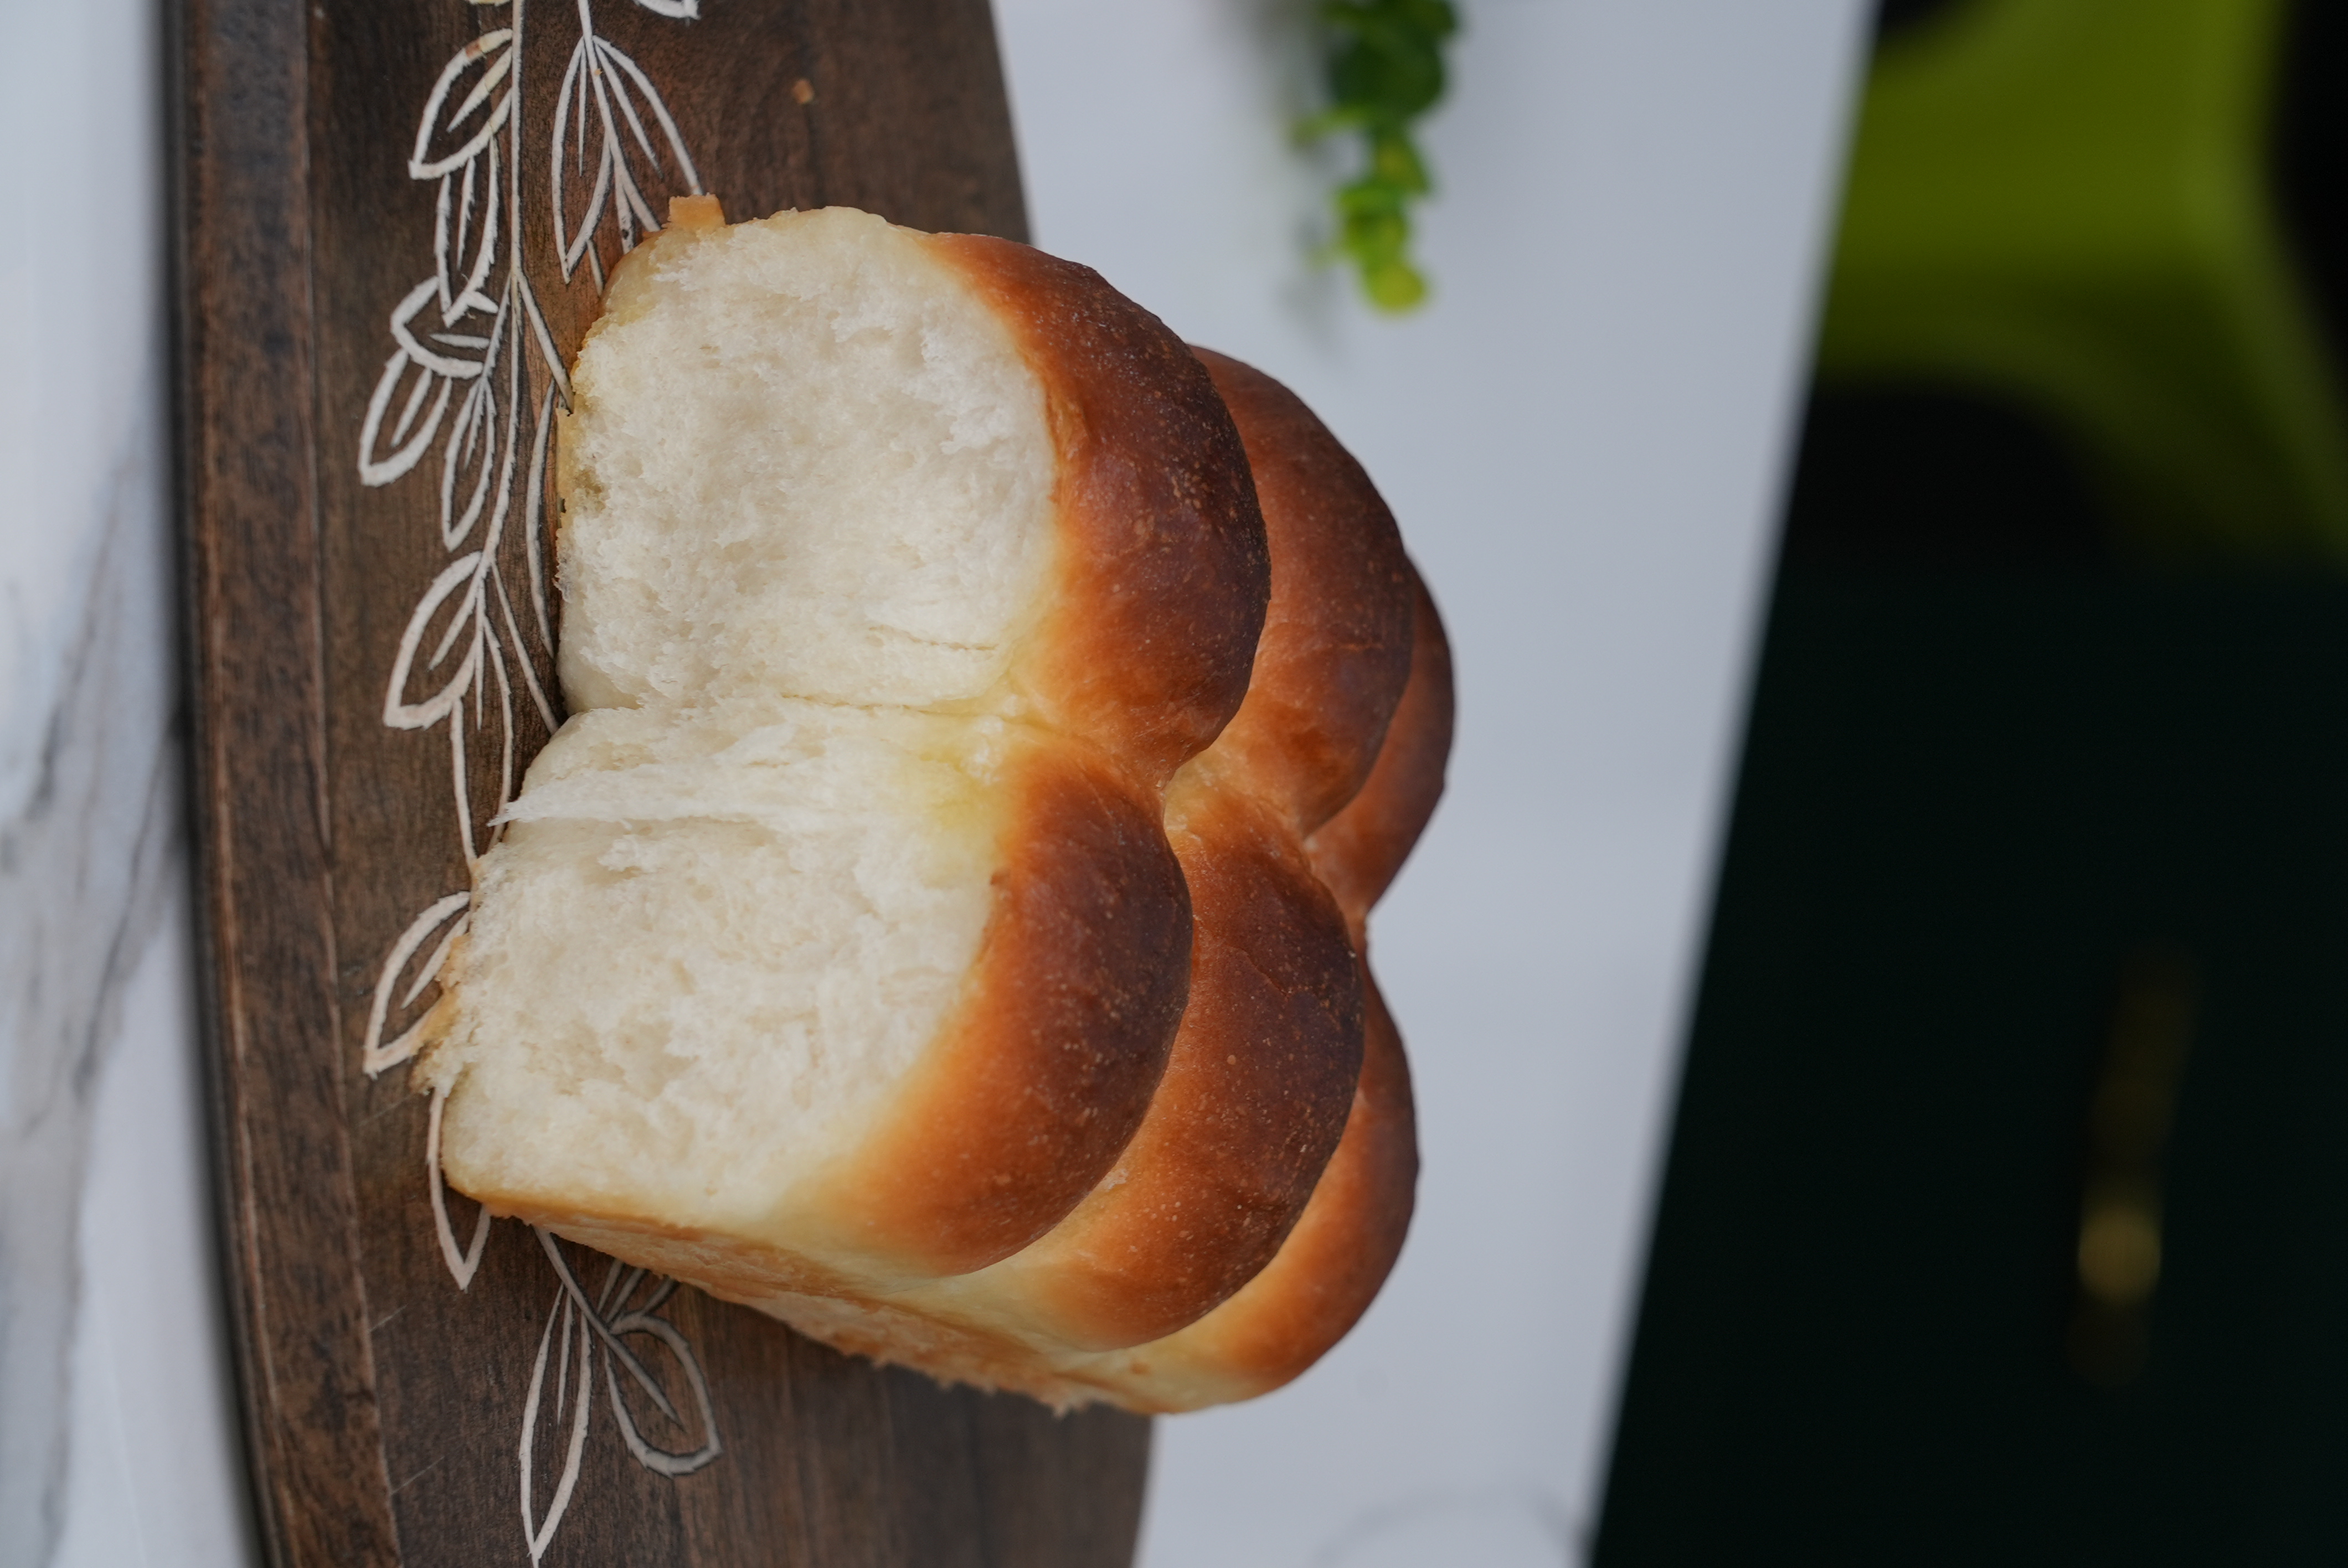
These Dinner rolls or Pav Buns are soft and perfect to pair with bhaji. I have been making these for over a decade and turns out perfect every time.

Chef Ashwini Jain
Pastry Chef
Yeast feeds on sugar and Active dry yeast needs to be hydrated before using it.
So, in a bowl combine warm milk, powdered sugar and active dry yeast.
In 5-10 minutes, yeast will start to froth.
In a sieve, add All purpose flour, Milk powder and salt.
Sifting is important to remove any foreign particles and create aeration. Do not skip this step.
Using a spatula or Danish dough whisk combine the wet and the dry ingredients.
Idea is that dry ingredients should be hydrated well.
You can add 1-2 tablespoons of extra milk/water at this stage if the dough feels dry.
This step is very crucial because gluten formation will happen at this stage.
Start kneading it in a manner that, you push the dough with heal of your palm and bring it back with your fingers. Repeat this motion with both the hands alternately.
Knead the dough for about 5-7 minutes or until 80% gluten formation is achieved.
As in, when you stretch a small portion of dough without tearing, allow light to pass through it, you should be able to see some strands of gluten.
Thats when you have to move to next step of adding fat.
Add Soft salted Butter to the dough and knead again for 1-2 minutes or Window pane test is passed.
It means 100% gluten formation has been achieved and dough is ready to rest.
WINDOW PANE TEST : If you gently stretch a small portion of dough, you should be able to create a thin, translucent membrane that allows light to pass through without tearing.
Grease the bowl with oil or butter and place the dough in it. Lightly brush the top of kneaded dough as well.
Cover the bowl using a cling wrap, cloth or plate and let it rest at a warm and moist place.
How to check the first proofing is done ?
If you eye ball the dough, it should almost double in volume.
Insert your knuckle in the dough and it should spring back halfway. It means it has proofed perfectly.
*Refer Chef's Notes for details about Under proofing, Over proofing and perfect proofing.
Divide the dough in 8 equal portions. You can either eye ball or weigh on a scale.
Take one portion, tuck all the edges underneath and roll it in between your hands making it tight and smooth.
Turn it upside down and pinch to secure it.
Place the balls close together in a greased pan to create the signature soft-sided ladi(row) effect, allowing them to rise again until doubled.
*Refer Chef's Notes for details about Under proofing, Over proofing and perfect proofing.
Preheating mode: Lower Rod ON , Upper Rod ON, Fan ON.
Preheat at 200 degree celsius for 7-8 minutes.
Combine 1 tsp of sugar in 2 tbsp milk and brush it on proofed pav with very light hands.
This step is crucial for the golden brown colour on ladi pav because sugar crystallises while baking.
Bake at 200 degree celsius for 15-20 minutes on medium rack.
Right after Ladi Pav is out of the oven, brush with butter generously and cover with a damp coth to avoid dryness for 5-7 minutes.
After 7 minutes, de mould the ladi pav and place it on a wire rack. Cover it again with damp cloth until completely cooled.
Cut or serve after pav comes to room tempertaure.
1. Under Proofing = Dough is not ready yet.
This means the dough hasn’t risen enough. Yeast didn’t get enough time to create enough gas.
How it feels:
Dough looks smaller and tight Feels dense and firm When you poke it, it springs back immediately. After baking: Bread becomes dense/heavy Tight crumb (small compact holes) May crack randomly because it still tries to rise fast in oven.
2. Over Proofing = Dough waited too long .
This means the dough rose too much and the yeast used up most of its energy.
How it feels:
Dough looks very puffy and weak Feels fragile, loose, sticky sometimes When you poke it, dent stays and doesn’t bounce back much. After baking: Bread may collapse Flat loaf Sour smell/taste sometimes
3. Perfect Proofing = Sweet spot.
The dough has risen enough and still has strength left for oven rise.
How it feels:
Dough looks airy and smooth Grown noticeably in size When you poke it, dent comes back slowly halfway. After baking: Great rise in oven Soft fluffy texture Light crumb with beautiful holes Good shape and volume
1. Yeast and Salt should not get in touch directly. Salt can dehydrate yeast cells and slow fermentation. 2. If flour, salt and yeast are added together in a bowl, the flour acts as a buffer/barrier, so salt is dispersed and doesn’t aggressively damage the yeast.